
I love granola bars. Crunchy or chewy,
it doesn't matter. I just like the combination of oats with nuts or
dried fruit, or (especially!) chocolate.

But commercially sold
granola bars are full of a lot of things that aren't fruit or nuts or
chocolate or oats - unpronounceable things and often high fructose
corn syrup - which I try to stay away from. So when I saw this
recipe on Pinterest, I decided to give it a go.
Major Success! Now there's always a stash of these in
the fridge. They go to work with my husband, Judith eats about one
per day, and I love them too. Obviously, I can't (and don't) take
credit for the recipe (although I've modified it some), but I'm
blogging this tutorial to show you how easy it is.
Notes and
Variations:
I prefer to make
no-bake bars, and that's what the pictures will show. The original
recipe poster prefers to bake hers, and directions are included for
that option as well. If
you're going to bake your bars, do not line your pan with plastic
wrap! Use foil instead!
I like my
chocolate melted throughout the whole granola bar, so I add the
chocolate chips to the hot peanut butter and honey. If you want the
occasional chocolate chip in your bar, add them to the oat mixture,
and be sure to let your peanut butter and honey cool a little before
you add them to the oat mixture or your chocolate chips will melt
anyway.
As you can see in
the pictures, I chose to use peanuts this time around. I also like
to use almonds or pecans. Any nuts work, or they can be omitted
altogether.
Granola Bars
Ingredients*
3/4 c natural
peanut butter
1/2 c honey (or
brown rice syrup)
4 cups rolled oats
1-2 T chia seeds
1-2 T flaxseed
meal
1/2 cup coarsely
chopped nuts
1/4 c mini
chocolate chips
*Everything
except the first three ingredients is optional! You could also
choose to add dried fruit or coconut, or anything else that strikes your fancy.
Directions
Assemble your ingredients.

Combine the oats,
chia seeds, flaxseed, and nuts in a medium bowl.
Heat the peanut
butter and honey - you want them to be warm enough to mix well
together, but not so hot that they're boiling. (I microwave the
mixture for one minute.) Stir until well combined.

Note: your
mixture will likely be darker than mine - the peanut butter that I'm
using for this tutorial is some that I made myself, and the color is
very, very light.
Add the chocolate
chips to the hot peanut butter mixture and stir until chips are
melted and the mixture is smooth. (It'll look a lot like fudge - and
if you decide at this point to forgo the granola bars and just eat
peanut butter-honey fudge by the spoonful, I'm sure no one will blame
you!)
Add
to the oat mixture and stir until absolutely
totally
combined.

Note: you will probably
need to use your hands instead of a spoon to make sure everything is
combined - the chia seeds and flaxseed meal tend to accumulate in the
bottom of the bowl and not get incorporated - make sure you get them
in!
For no-bake
bars:
Line a casserole dish with plastic wrap, making sure there's some
hanging over all four sides. I use a 11”x7” or 8”x8” pan
because I like thicker, skinnier bars, but you can use a 9x13 if
you'd rather have flatter, wider bars.
Press
the mixture really
firmly
into the pan. I mean it - mash it down as much as you possibly can.
If you don't compact it well enough, you'll end up with really
crumbly bars.
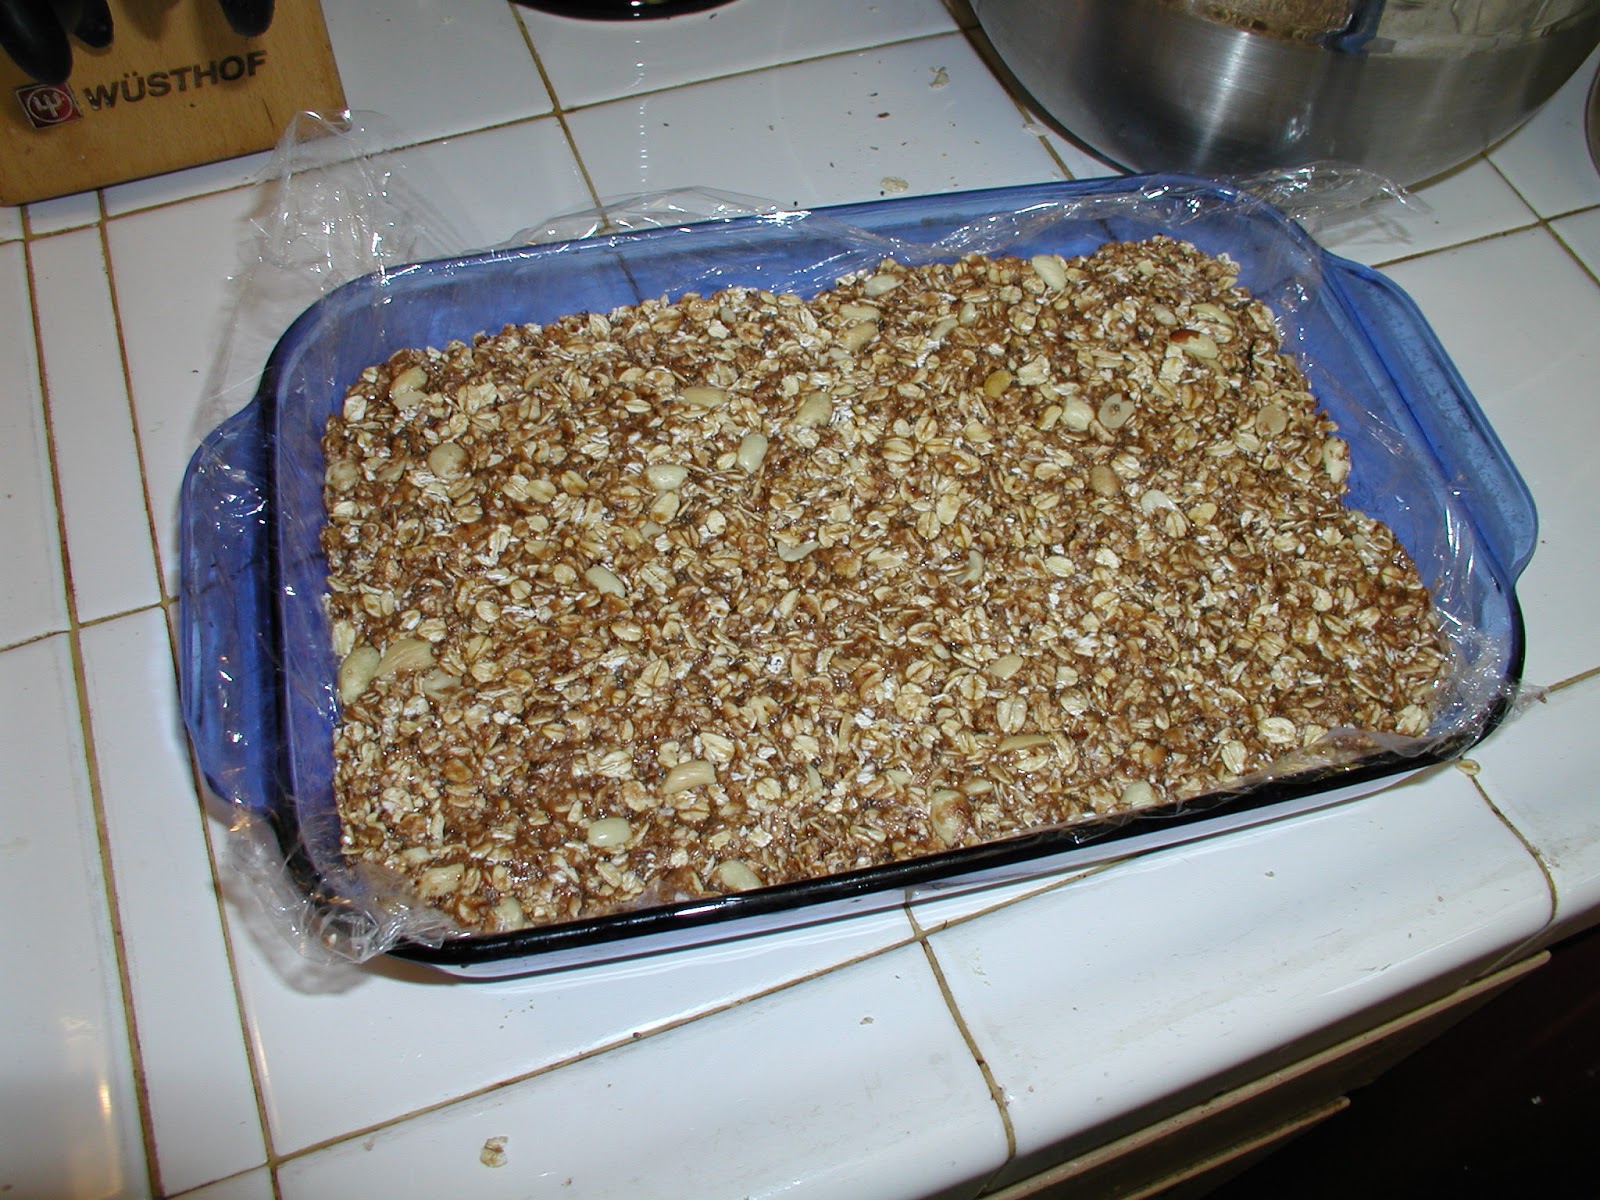
Refrigerate for at least one hour. Remove from pan by pulling up gently on
the plastic wrap. Cut into bars.

Because I like to send these in my husband's lunch, I wrap each bar
individually in plastic wrap. I feel somewhat guilty about all the
plastic waste this creates, and I've been toying with other
possibilities - like storing the cut bars in an airtight container in
the fridge, and reusing one small baggie or container to pack them in
his lunch.
To bake the
bars:
Line
a small casserole with foil
(not plastic wrap!).
Press the mixture really
firmly
into the pan. Bake at 350°
for 20-30 minutes (this will depend on your pan size!). Bars are
done when they're golden. Cool for a few minutes on a rack, then
remove from the pan. Cut them while warm, or they'll be impossible
to cut neatly!
Happy Baking!

No comments:
Post a Comment