

This
recipe pairs them with toasted pecans in a shortbread cookie. It's
super yummy! I prefer them plain, while my husband loves them dipped
in dark chocolate.
If you're looking for a last-minute recipe for a dinner
party or something, don't pick this one! You toast the pecans and
let them cool before you make the dough. And because the flavor of
the cocoa beans develops and infuses the cookies over time, it is
strongly recommended that you make the dough a day before baking, and
bake the cookies at least 24 hours before serving them (longer is
even better). That may seem like a lot of planning for cookies, but
they're worth it! (It's also possible to freeze the dough - or the
cookies - if you want to be able to have some on hand more quickly.)
.
Two options are included for baking these: “slice and
bake” or “roll and cut”. The first option is much easier and
less time consuming, but the cookies will be less uniform in shape.
The second option allows you to cut the dough into shapes (hearts,
flowers, etc.) if desired.
Cocoa Nib Pecan Cookies
(from Bittersweet, by Alice Medrich)
(makes about 4 dozen
two-inch cookies)
1 c (3.5 oz) pecan halves
½ lb (2 sticks) unsalted
butter, slightly softened
¾ c sugar
¼ t salt
1½ t pure vanilla extract
1/3 c cocoa nibs
2 c all purpose flour
Toast the Pecans:
Preheat the oven to 325°.
Spread the pecans on a cookie sheet.

Toast them in the oven for
7 to 8 minutes, or until fragrant and lightly colored. Let cool
completely, then chop coarsely.

Make the dough:
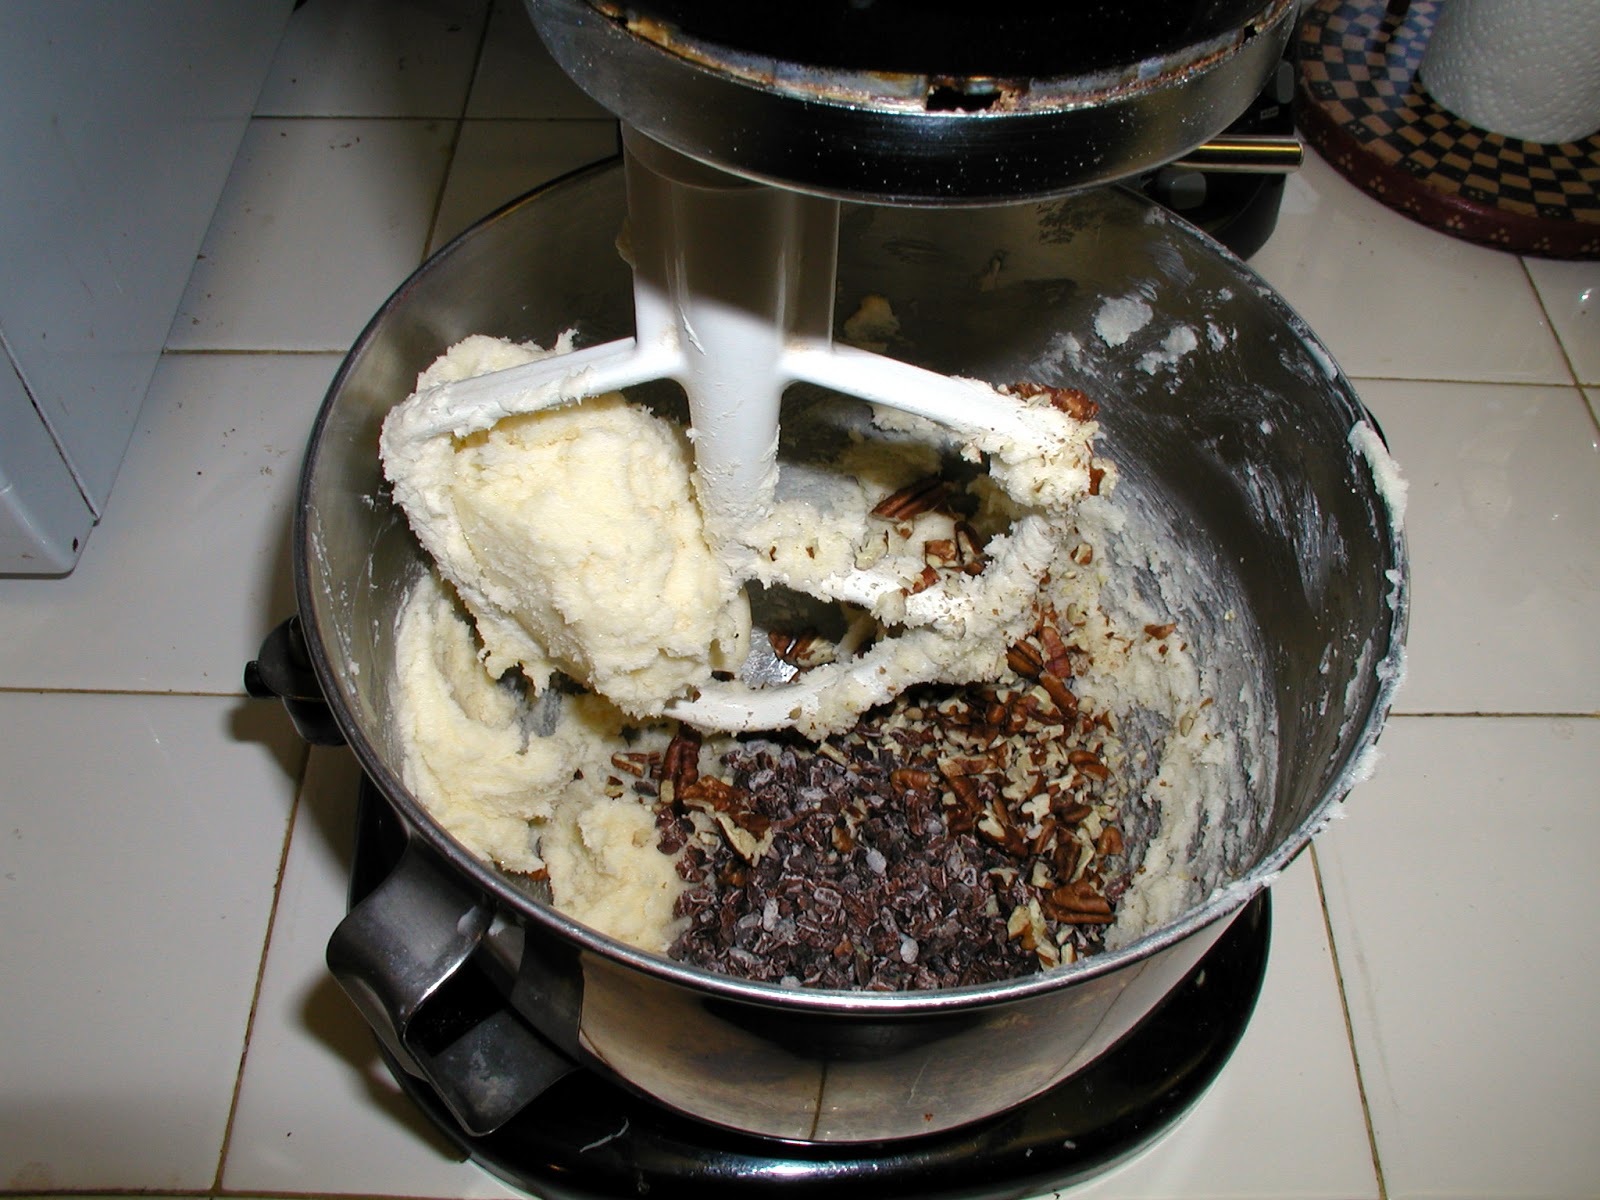
Assemble the ingredients.

Combine the butter, sugar,
salt, and vanilla in a medium bowl and beat until smooth and creamy
but not fluffy (about one minute with a mixer).
Stir or beat in the pecans
and cocoa nibs.
Add all the flour at once.
Beat on low speed just until the flour is fully incorporated. One
of the best tricks I learned about baking is a way to prevent flour
from flying all over the kitchen when I turn my mixer on. Even when
the mixer's on its lowest setting, I still used to get clouds
everywhere. Not anymore! I simply place a kitchen towel over the
whole mixer and hold it down around the bowl as the mixer goes.
After about the first 20 seconds the flour is usually incorporated
enough to not be flying around anymore - and one towel is a lot
easier to clean up than the whole kitchen!

Mix
until your dough looks like lots of small crumbs. (Don't worry,
those crumbs will come together in a cohesive dough once you start
shaping it!)

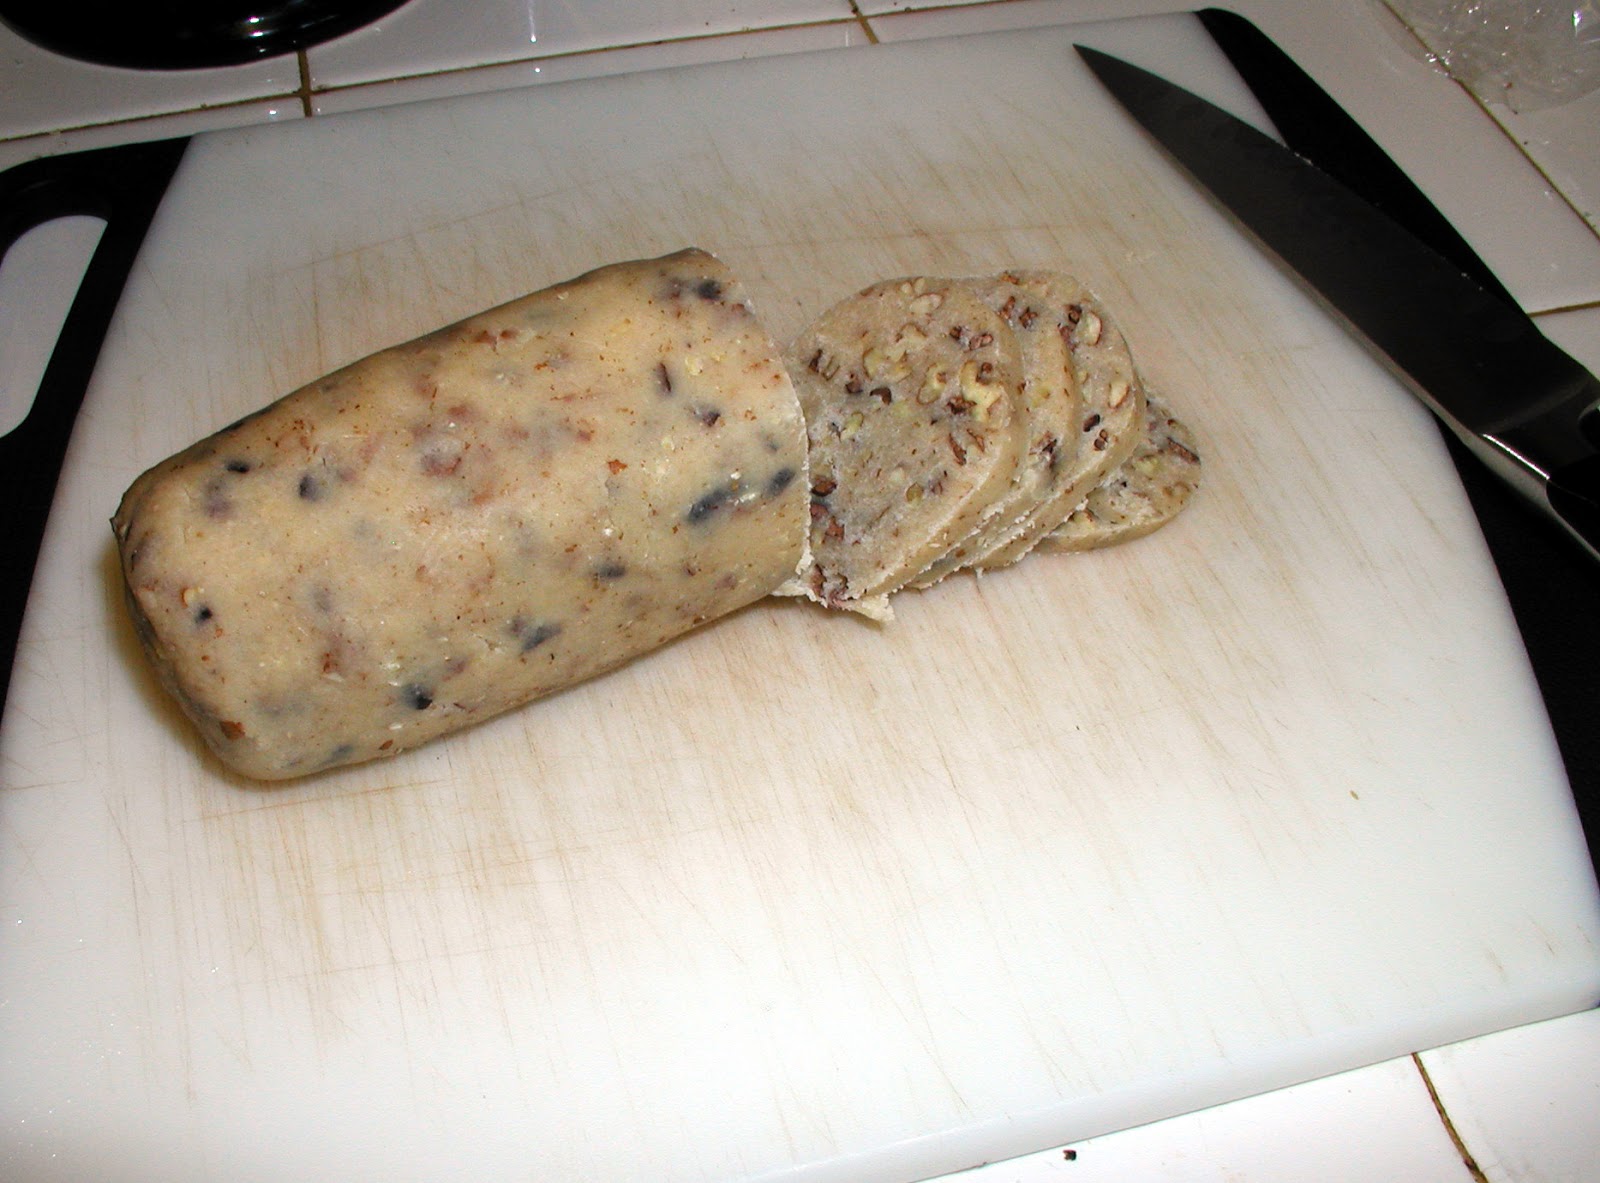
For slice and bake
cookies: Form the dough into a 12” log, about 2” thick.

For roll and cut
cookies: Divide the dough in half and form into two flat
patties.

Wrap the dough in plastic
wrap and refrigerate for at least 2 hours, preferably overnight. (Or
freeze for up to 3 months.)
Bake the cookies:
Position the rack in the lower third of
the oven, and preheat the oven to 350°.
Cut the cookies:
To
slice and bake: use a sharp knife to cut the cold dough log into
¼ –inch-thick slices. Place the cookies at least 1½ inches apart
on ungreased cookie sheets.
To
roll and cut cookies: Remove one patty from the refrigerator and
let it sit at room temperature until supple enough to roll but still
quite firm – it will continue to soften as you work. Roll the
dough out between two pieces of wax paper to a thickness of ¼ inch.

Turn
the dough over once or twice while you are rolling it out to check
for deep wrinkles. Peel off the top sheet of paper and place it in
front of you. Invert the dough onto the paper and peel off the
second sheet. One of my teachers from culinary school
would say “pastry chefs are laughing!” She was adamantly
opposed using wax paper to roll out dough under any circumstances.
But this dough is so crumbly
to begin with, and becomes so soft as you roll it out, that using
this method is definitely worth it. Besides, the clean up afterward
is a breeze!
Cut
out cookies as close together as possible to minimize scraps, dipping
the edges of cookie cutters in flour as necessary to prevent
sticking.

Transfer
cookies, using a narrow metal spatula, to ungreased cookie sheets,
placing the cookies at least 1½ inches apart. (if the dough gets
too soft at any time while you are working, slide a cookie sheet
underneath the wax paper and refrigerate the dough for a few minutes
until it firms up again.) Repeat with the second piece of dough.
Press all of the dough scraps together gently (don’t overwork them
with too much kneading), reroll, and cut out more cookies.
Bake for 12-14 minutes, or
until the cookies are light golden brown at the edges. (Bake only
one cookie sheet at a time.) Let the cookies firm up on the pans for
1 minute before transferring the to a rack with a metal spatula. Let
cool completely. For best flavor and texture, store the cookies in
an airtight container for at least 24 hours before serving. (They
can be stored airtight for at least 1 month.)
Dip the Cookies:
To make them extra
special, you can dip these cookies in chocolate! If you use tempered
chocolate or melt-and-molds, the cookies can stay at room
temperature. If you just melt plain chocolate (like chocolate chips)
to dip them in, plan on keeping them in the fridge.


